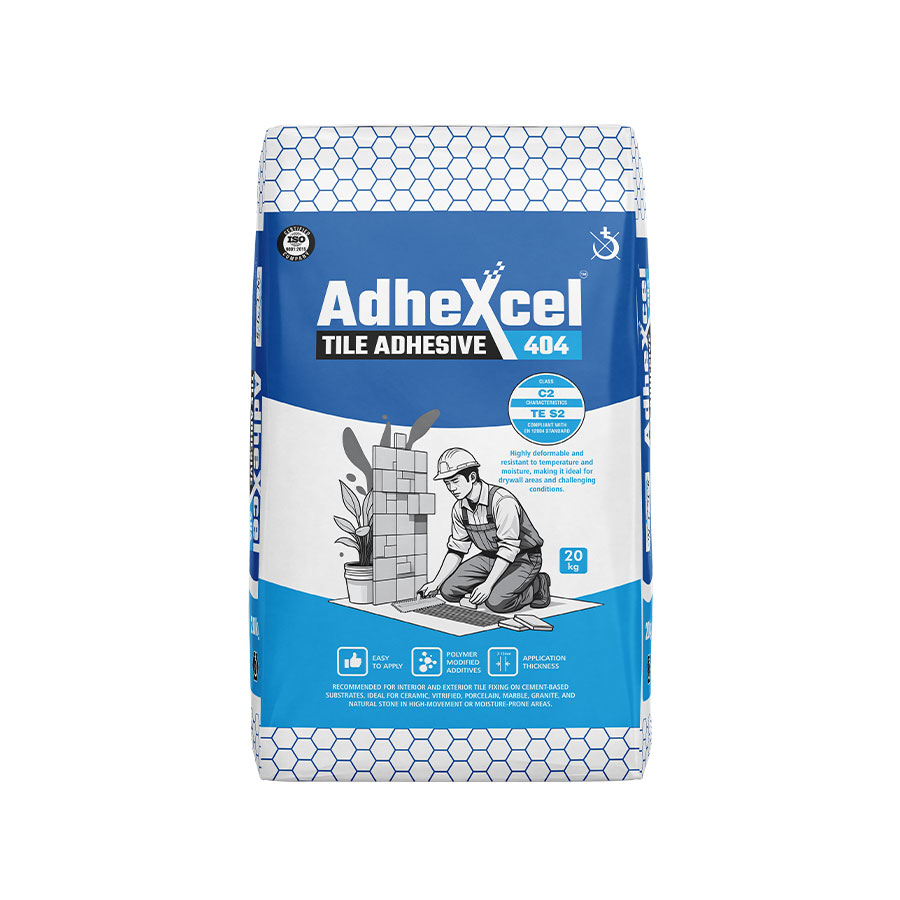
• Excellent bonding with all cementitious substrates.
• High flexibility (S2) for large format vertical installation.
• Suitable for tile-on-tile application for renovation.
• Slip-resistant as per BIS standards.
• Extended open time for easier tile adjustment.
TEP 1 – MIXING RATIO
Add 3 parts AdheXcel Tile Adhesive Powder and 1 part water (by volume).
STEP 2 – MIXING
Mix the AdheXcel Tile Adhesive thoroughly until a smooth, lump-free mortar is formed.
Leave the mixture to stand for 5 minutes.
STEP 3 – APPLYING THE ADHESIVE
Spread the mixed mortar using a notched trowel.
Double-check that the spread thickness and consistency are uniform.
STEP 4 – TILE FIXING
Lay the first tile onto the AdheXcel Tile Adhesive mortar and press firmly to ensure proper bonding.
STEP 5 – CLEANING
Remove excess adhesive/mortar from the tile surface using a damp sponge or cloth.
STEP 6 – CURING & SETTING
Allow 24 hours for curing and setting before grouting.
Do not walk on the tiles during this period.
STEP 7 – GROUTING & FINISHING
After proper setting, apply grout and seal the joints to complete the tiling process.