- +91 8849237144
- info@nirmaanchemtech
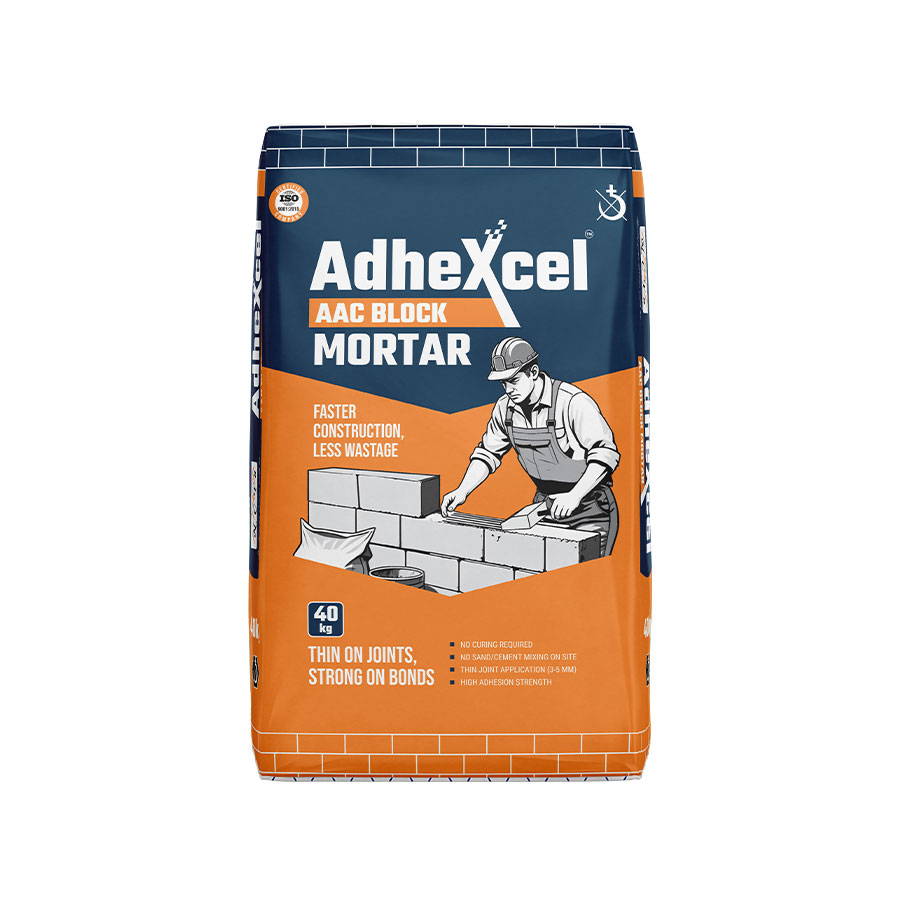

Adhexcel AAC Block Mortar
40 kg
- Self-curing mortar — no need for post-curing when used with Adhexcel AAC Block Mortar.
- Ready to mix; only water is needed at the site for easy preparation.
- Long pot life, reducing wastage and allowing more material to be used efficiently.
- Excellent bonding between blocks and cementitious surfaces.
- Easy to apply.
- Economical and user-friendly.
- Consistent quality material.
- Suitable for wall construction without hammering, electrical cutting, chiseling, or framing, as per standard masonry practice.
- Walls can be plastered after 2–3 days depending on adhesive thickness.
| Appearance | Grey Powder |
| Bulk Density | 1.45 – 1.55 g/cc |
| Pot Life | 1 hour |
| Open Time | 5 – 10 Minutes |
| Tensile Adhesion Strength @ 28 Days | 0.5 MPa (under 90% water) |
| Compressive Strength @ 28 Days | 7 – 9 MPa |
STEP 1 – MIX THE MORTAR
In a clean bucket, add 3 parts AdheXcel AAC Block Mortar to 1 part clean water (20–25% by volume).
Mix for 3–5 minutes using a hand tool or an electric mixer.
STEP 2 – ALLOW TO STAND
Let the mixture rest for 3–5 minutes, then remix for 1–2 minutes until smooth and lump-free before use.
STEP 3 – PREPARE THE SURFACE
Clean the AAC block surfaces using a brush to remove dust and loose particles.
STEP 4 – DAMPEN THE SURFACE
Moisten the block surfaces with water before applying mortar to improve adhesion.
STEP 5 – APPLY MORTAR EVENLY
Spread the mortar evenly on all sides of the block using a notched trowel.
Maintain a consistent bond thickness of 3–5 mm.
STEP 6 – PLACE THE BLOCKS
Place the blocks with minimal displacement.
Tap gently using a rubber or fiber hammer to remove air gaps and ensure proper alignment.
STEP 7 – CHECK LEVEL & ALIGNMENT
Use a spirit level or tie/rope method to check both horizontal and vertical alignment.
Make adjustments before the mortar begins to set.
STEP 8 – ALLOW TO SET
Do not disturb or dismantle the constructed wall for at least 24 hours.
Setting time may vary depending on weather and site conditions.