- +91 8849237144
- info@nirmaanchemtech
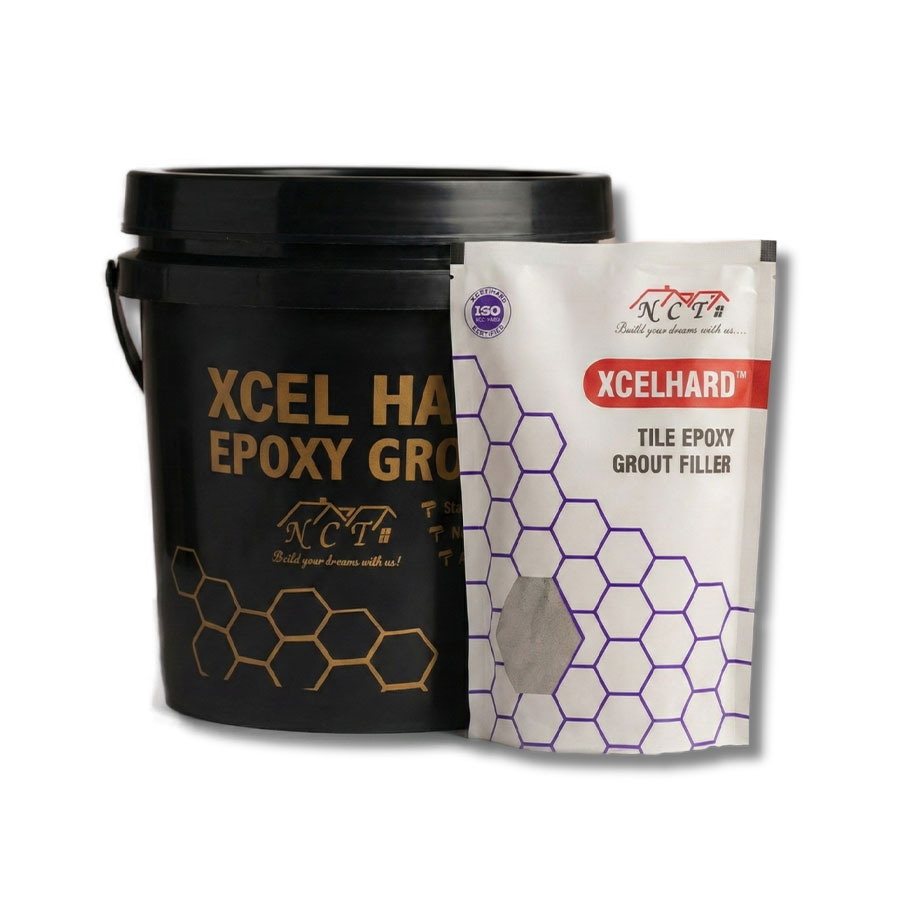

XcelHard Epoxy Grout
Available in 1 Kg and 5 Kg units.
1 Kg Packing:
Pack – A, B & C are in bucket
(Pack-A Hardener 100g, Pack-B Resin 200g, Pack-C Filler 700g)
5 Kg Packing:
Pack – A, B are in bucket and Pack- C in carton
(Pack-A Hardener 500g, Pack-B Resin 1000g, Pack-C Filler 3500g)
- High chemical and stain resistance.
- Waterproof and highly durable.
- Strong bonding for long-life joints.
- Smooth and easy-to-clean finish.
STEP 1 – SURFACE PREPARATION
Ensure tile joints are clean, dry, and free from dust, oil, cement slurry, and loose particles.
Remove spacers and clean joint depth properly.
STEP 2 – MATERIAL CONDITIONING
Keep Part A, Part B, and Part C at room temperature before mixing for smooth application.
STEP 3 – MIXING
Add Part B into Part A and mix thoroughly until a uniform consistency is achieved.
Then gradually add Part C (filler powder) while mixing to form a smooth, lump-free paste.
STEP 4 – APPLICATION
Apply the mixed grout using an epoxy grout float, pressing firmly to fill joints completely and avoid voids.
STEP 5 – EXCESS REMOVAL
Remove excess grout from the tile surface immediately using the grout float held at an angle.
STEP 6 – CLEANING
Clean the tile surface with a damp sponge / cloth (use clean water and change water frequently).
Final wipe should be done before the grout starts hardening to avoid epoxy haze.
STEP 7 – CURING
Allow the grout to cure undisturbed.
Protect from water, dust, and traffic during curing.
STEP 8 – FINAL INSPECTION
After full curing, inspect joints and remove any remaining residue/haze if required.